An iPhone in recovery mode is almost entirely useless to someone. At that point, it’s effectively become an expensive brick! It’s an incredibly frustrating situation to be in, especially since you may lose all the data on your device if you haven’t backed it up in a while.
It can be incredibly frustrating when you have no clue how to restore iPhone in recovery mode. A wide range of issues could possibly cause an iPhone to go into recovery mode. The most common issues that could cause this have to do with the Operating System (OS) itself. Nonetheless, you may be confident that there are avenues to restoring an iPhone once it is in recovery mode.
Today I’ll be briefly discussing a couple of simple option for you to restore iPhone in recovery mode with iTunes, as well as restore iPhone without iTunes.
Restore iPhone in Recovery Mode with iTunes (All Data Erased)
The first option is to use iTunes to restore an iPhone in recovery mode. You should always ensure that you have the most updated version of iTunes on your computer. Use the following steps to complete that process.
- Start by connecting your USB to your computer only.
- Hold the power button until the below screen appears then slide to power it off.
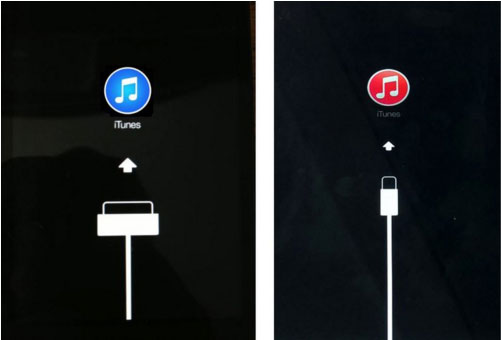
- Hold down the iPhone’s home button then connect it to the USB cable that was already connected to your computer. You will first see the Apple logo which then changes to the recovery logo as seen below.
- Once you’ve seen the recovery logo, as shown above, release the home button. At that point, your iPhone will be in recovery.
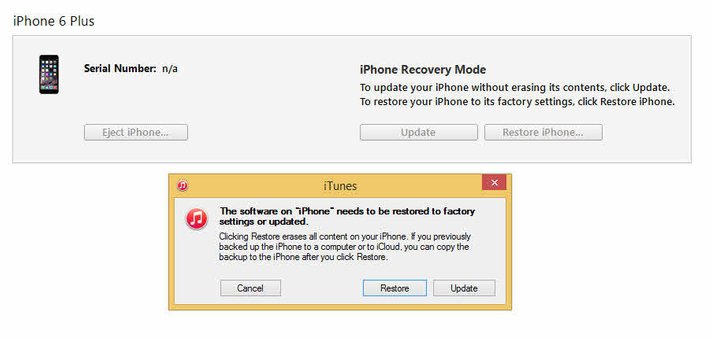
- Now direct your attention to iTunes. It should display a dialog box confirming that you’re in recovery mode. In that box you can then click "Restore", as seen below, to restore the device to a previously saved backup file.
How to Restore iPhone without iTunes in Recovery Mode (No Data Loss)
Using iTunes to restore an iPhone in recovery mode ultimately has its limitations. One example of that is losing data on your device that hadn’t been backed up. It’s incredibly beneficial to have a program that allows you to restore your device without iTunes.Your best option is dr.fone toolkit - Repair. It is the world's 1st iPhone and iPad Data Recovery Software and the best option for resolving any issues you may encounter with virtually every iOS device. Some of the features that make dr.fone so reliable include;
dr.fone toolkit - Repair
Restore iPhone in recovery mode with no data loss!
- Only fix your iOS to normal, no data loss at all.
- Fix various iOS system issues stuck in recovery mode, white Apple logo, black screen, looping on start, etc.
- Fixes other iPhone error and iTunes errors, such as iTunes error 4013, error 14, iTunes error 27,iTunes error 9 and more.
- Fully compatible with Windows 10, Mac 10.12, iOS 11

- Work for all models of iPhone, iPad and iPod touch.
Steps to Restore iPhone in Recovery Mode without Data Loss
- Open dr.fone on your computer. Once the program loads, click on "Repair".
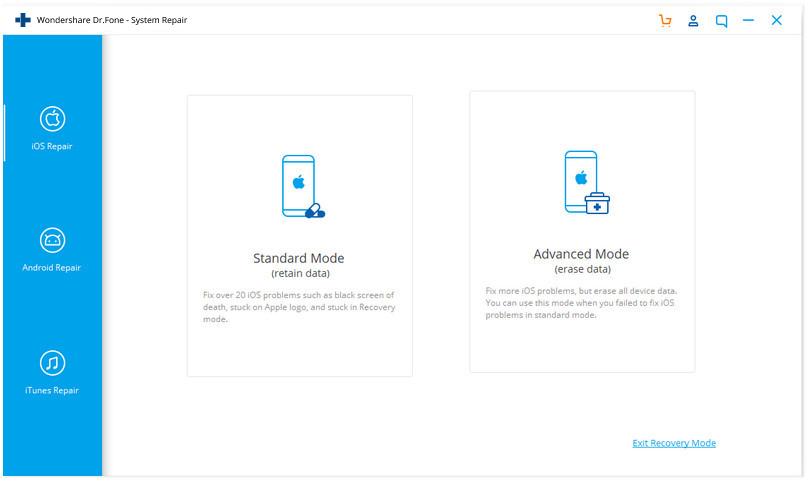
- Connect your iPhone to your computer and click on the "iOS Repair" tab. In the lower right corner, you can see two options: Standard Mode and Advanced Mode. Click on the first one.
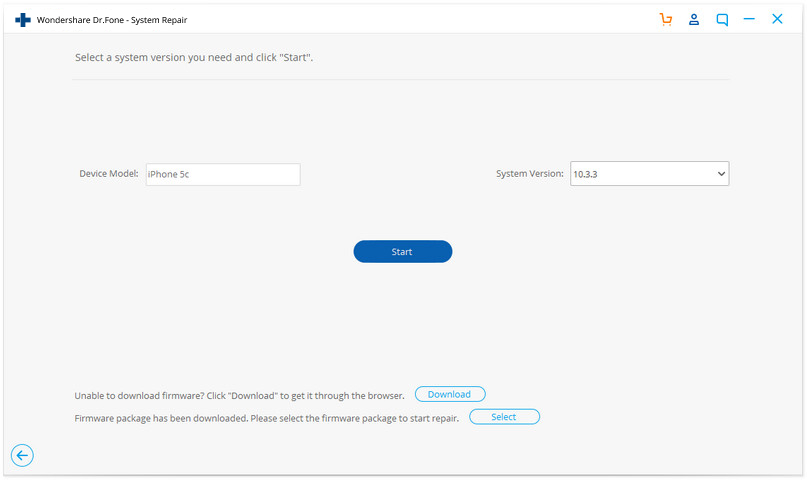
- The latest OS firmware must be downloaded to fix the iPhone. Click on "Start" then it will immediately download this data for you.
- dr.fone will begin repairing your iPhone once the download has finished.
- In less than ten minutes the firmware will download, dr.fone will repair your iPhone and restart it in normal mode.
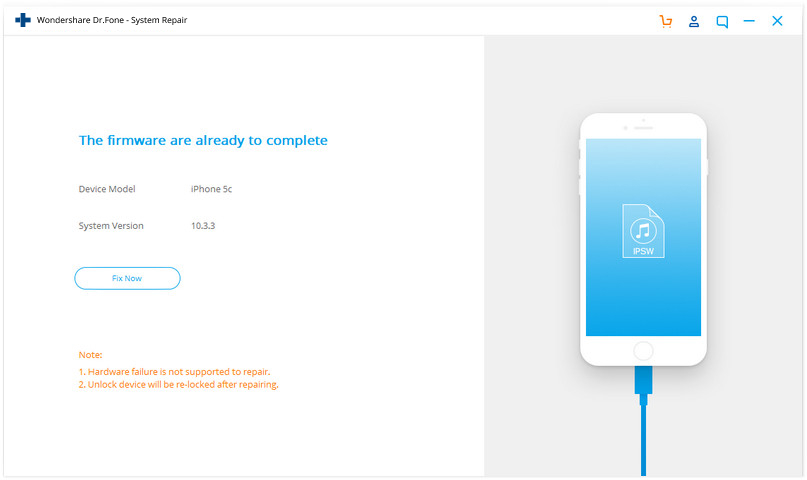
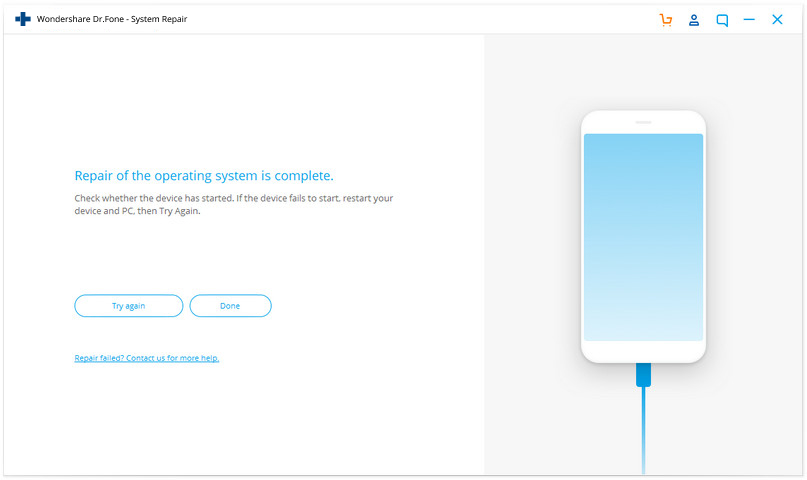
This entire process will update your phone to the latest version of iOS. Jailbroken iPhones will be updated to the version the phone was at before it was jail-broken and the device will be re-locked.
That wasn’t too difficult, was it? Both options are efficient ways to restore an iPhone stuck in recovery. Doing so through iTunes won’t necessarily guarantee to recover all data on your phone. Think to yourself when the last time you backed up your phone was. All the data since they will be lost through that method.
dr.fone toolkit - Repair is ultimately the best option for your needs. You won’t lose any data like you would using the iTunes route. It also works across a wide range of iOS devices. How does that sound?
Tags:
Apple news

