We've all been there, haven't we? You're having a busy day, or you've just sat down for dinner, and your iPhone rings - someone is trying to sell you something again.
If you've been pestered by nuisance callers, or you simply need some space from a particularly chatty contact, you can block numbers using iOS. Don't worry, the process is completely reversible. Here, we'll show you how.
A brief note - blocking a number is different from activating Do Not Disturb mode. While blocking a contact prevents them from being able to phone or text you, Do Not Disturb simply mutes notifications. Depending on your situation, one or the other may be best for your needs.
There are two main ways to block a number in iOS, and both are relatively straightforward.
How to block a number that has contacted you
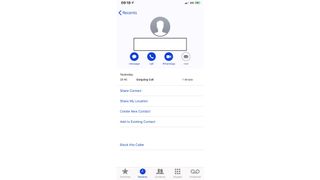
Once you've hung up on your nuisance caller, head over to your phone app and then 'Recent'. Press the 'i' icon next to the call in your call log.

You'll note at the bottom of the page there's an option to 'Block this Caller', so press that and then confirm via the prompt that appears. That number is now blocked!
How to block a number proactively
Sometimes you want to block someone before they have a chance to contact you, and this is easy to do. For this, the number in question must already be a contact.
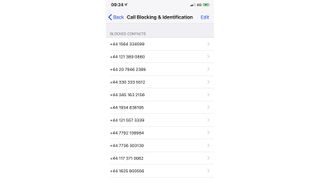
Head into your settings menu, then select 'Phone' and from here, head into the sub-menu called 'Call Blocking & Identification'.

Here you'll find a list of all of your blocked numbers. Scroll to the bottom for the option to block a contact, then simply select the contact you don't want to hear from.
You can also simply head into the contact from your phone app and scroll down to 'Block this Caller' just as we did for anyone that contacts you.
How to unblock a number
Unblocking a number is just as easy as blocking one, so if you've made a mistake or have changed your mind, simply head into contact and select 'Unblock this Caller' to reinstate them.
When viewing your list of blocked contacts as we saw above, you can also hit 'Edit' and then remove any entries from the list as you see fit.
Tags:
Apple news

